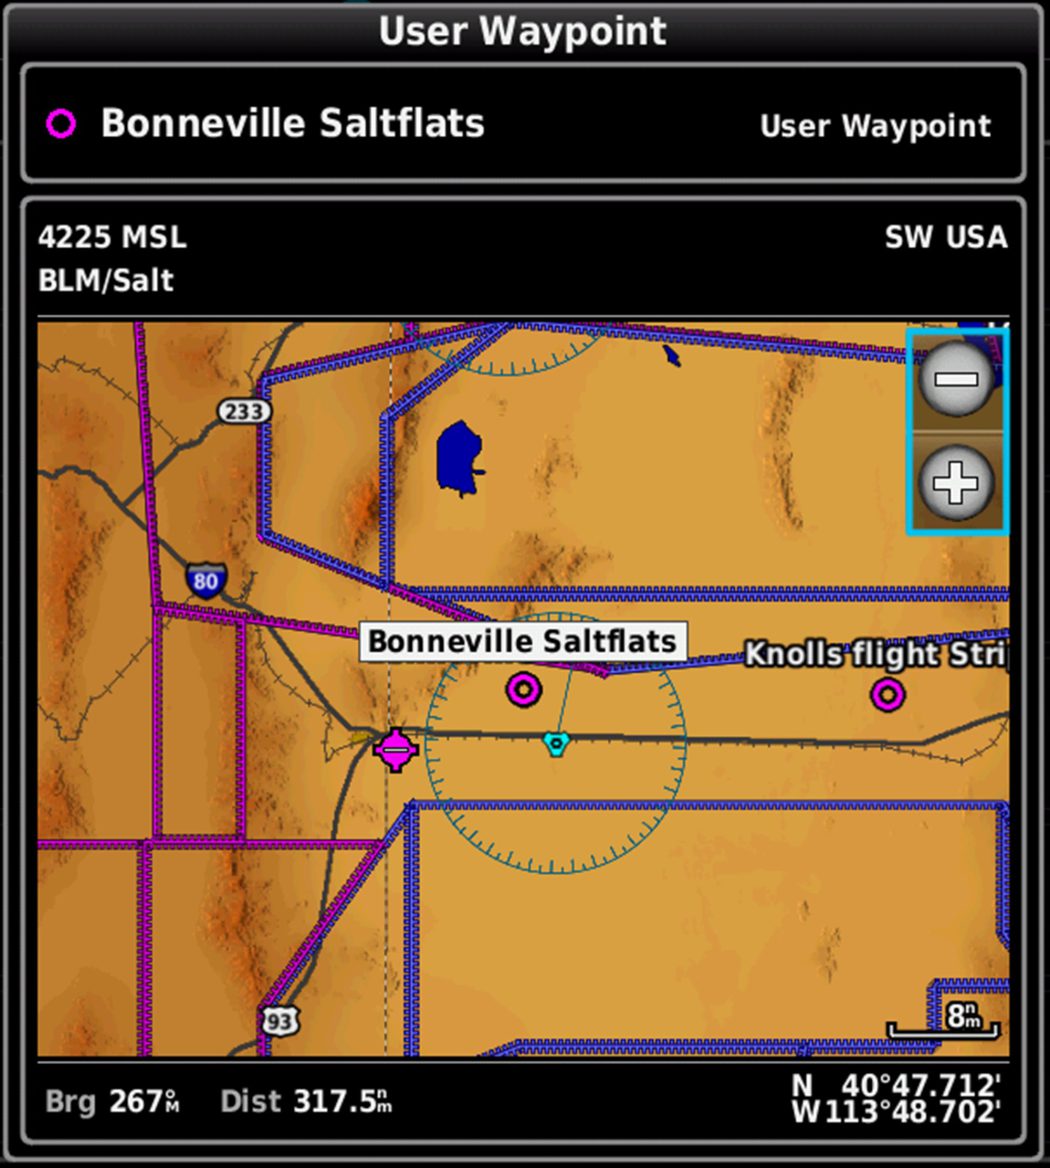
The Utah Back Country Pilots Association (UBCP) maintain a list of back country airstrips. Since I frequently fly over a lot of rugged terrain in Utah, I really wanted to have these airstrips shown on my display in case of engine failure.
For members they offer a great set of ForeFlight Waypoints for these airstrips, unfortunately this did not help me and my G3X displays. For members they do offer a “Developers API” which contained the information about the airstrips and I set off to figure out how to get this into a format that my G3X displays could import.
Phase 1 – Figure out Garmin’s User Waypoint system
The G3X manual only has a few sentences that really provides next to zero helpful information.
I powered up my avionics and manually created a few waypoints, experimenting with what fields were available, the length of each field, and what icons were supported. After creating a few User Waypoints I exported the file to an SD card and headed home.
Creating User Waypoints:
1. Touch and hold anywhere on the chart
2. Touch the Info – Map Pointer button
3. Touch Save
4. Touch the Name field
5. Enter the desired Name
6. Touch the Symbol field
7. Select the desired symbol
8. Touch the Comment field
9. Enter the desired Comment
10. If desired, touch the Altitude value
11. Enter the desired altitude and touch Enter
12. If desired, touch the Location value
13. Touch the arrows to change the location and touch Enter
14. Touch the OK
15. Touch Save</strong
Exporting user waypoints:
1. Insert a blank SD card into the G3X
2. Press the MENU Key twice
3. Touch User Waypoints
4. Press the MENU Key
5. Touch Export
6. Touch Yes
Phase 2 – Fitting the UBCP airstrip data into Garmin’s format
Back on my computer I decoded the Exporting User Waypoint file: Sample User Waypoints File
After decoding I learned the available fields and their limitations are:
Name (Airport Name) – 20 characters
Description (User Defined Description) – 20 characters
Symbol (Icon) – There are 15 icons I only retrieved a few (Flag, Blue/Waypoint/Airport/Soft Field)
Location (Lat/Long) – xx.xxxxxx and xx.xxxxxx (in decimal format, G3X displays in DMM (Degrees, Decimal Minutes))
Elevation (Field Elevation) – xxxxx.xx – (in meters, multiply feet by 0.3048 to convert to meters)
With this data in hand I went about manipulating the UBCP fields to format them into the Garmin structure: Link to those instructions. With the new .GPX file created it was back to the airport to see how I did.
Phase 3 – Installing my User Waypoints
With a battery charger plugged in to keep the battery voltage up while I played around, it was time to power up my avionics and see how I did. First I deleted the existing User Waypoints and then imported my new file.
Delete all user waypoints:
1. Press the MENU Key twice
2. Touch User Waypointss
3. Press the Menu Key
5. Touch Delete All
6. Touch Yes
7. Touch Yes
Importing user waypoints:
1. Insert the SD card with the .GPX file into the G3X
2. Press the MENU Key twice
3. Touch User Waypoints
4. Press the MENU Key
5. Touch Import
6. Touch Yes
Configuring the Map settings for User Waypoints:
1. Press the MENU Key twice
2. Touch Setup
3. Touch Map
4. Scroll right to the Point tab
5. If desired, touch the Text Size field
6. If desired, touch the Range field


No Comments